We know before installing a water softener the question arises in your mind, “Can you drink softened water?”. Yes, you can drink softened water as it has no hard minerals affecting your hair, skin, and stomach.
Soft water has good effects on your health while protecting your faucets, helping you reduce the lime scale build-ups, and improving soap leather. It also increases the overall performance of your dishwashers, water heaters, and other devices that use water.
Many people have health concerns like hypertension, diabetes, or some stomach issues that they are worried about drinking softened water. Knowing about the softened water, and its good and bad effects can help you better understand its consumption.
Is Softened Water Safe to Drink?
Softened water is normally safe to drink. However, during the softening process, as the hard minerals are removed, some amount of sodium may be present in the water. This increased sodium may cause hypertension in people with high blood pressure.
Ideally, a water softener should not let sodium go into the water during the softening process. But during brine wash, some amount of sodium may go into the household water increasing overall sodium concentration which may not be suitable for blood pressure patients.
Before you get worried about soft water and its potential uses and its pros and cons, let’s discuss what is softened water and how it is achieved.
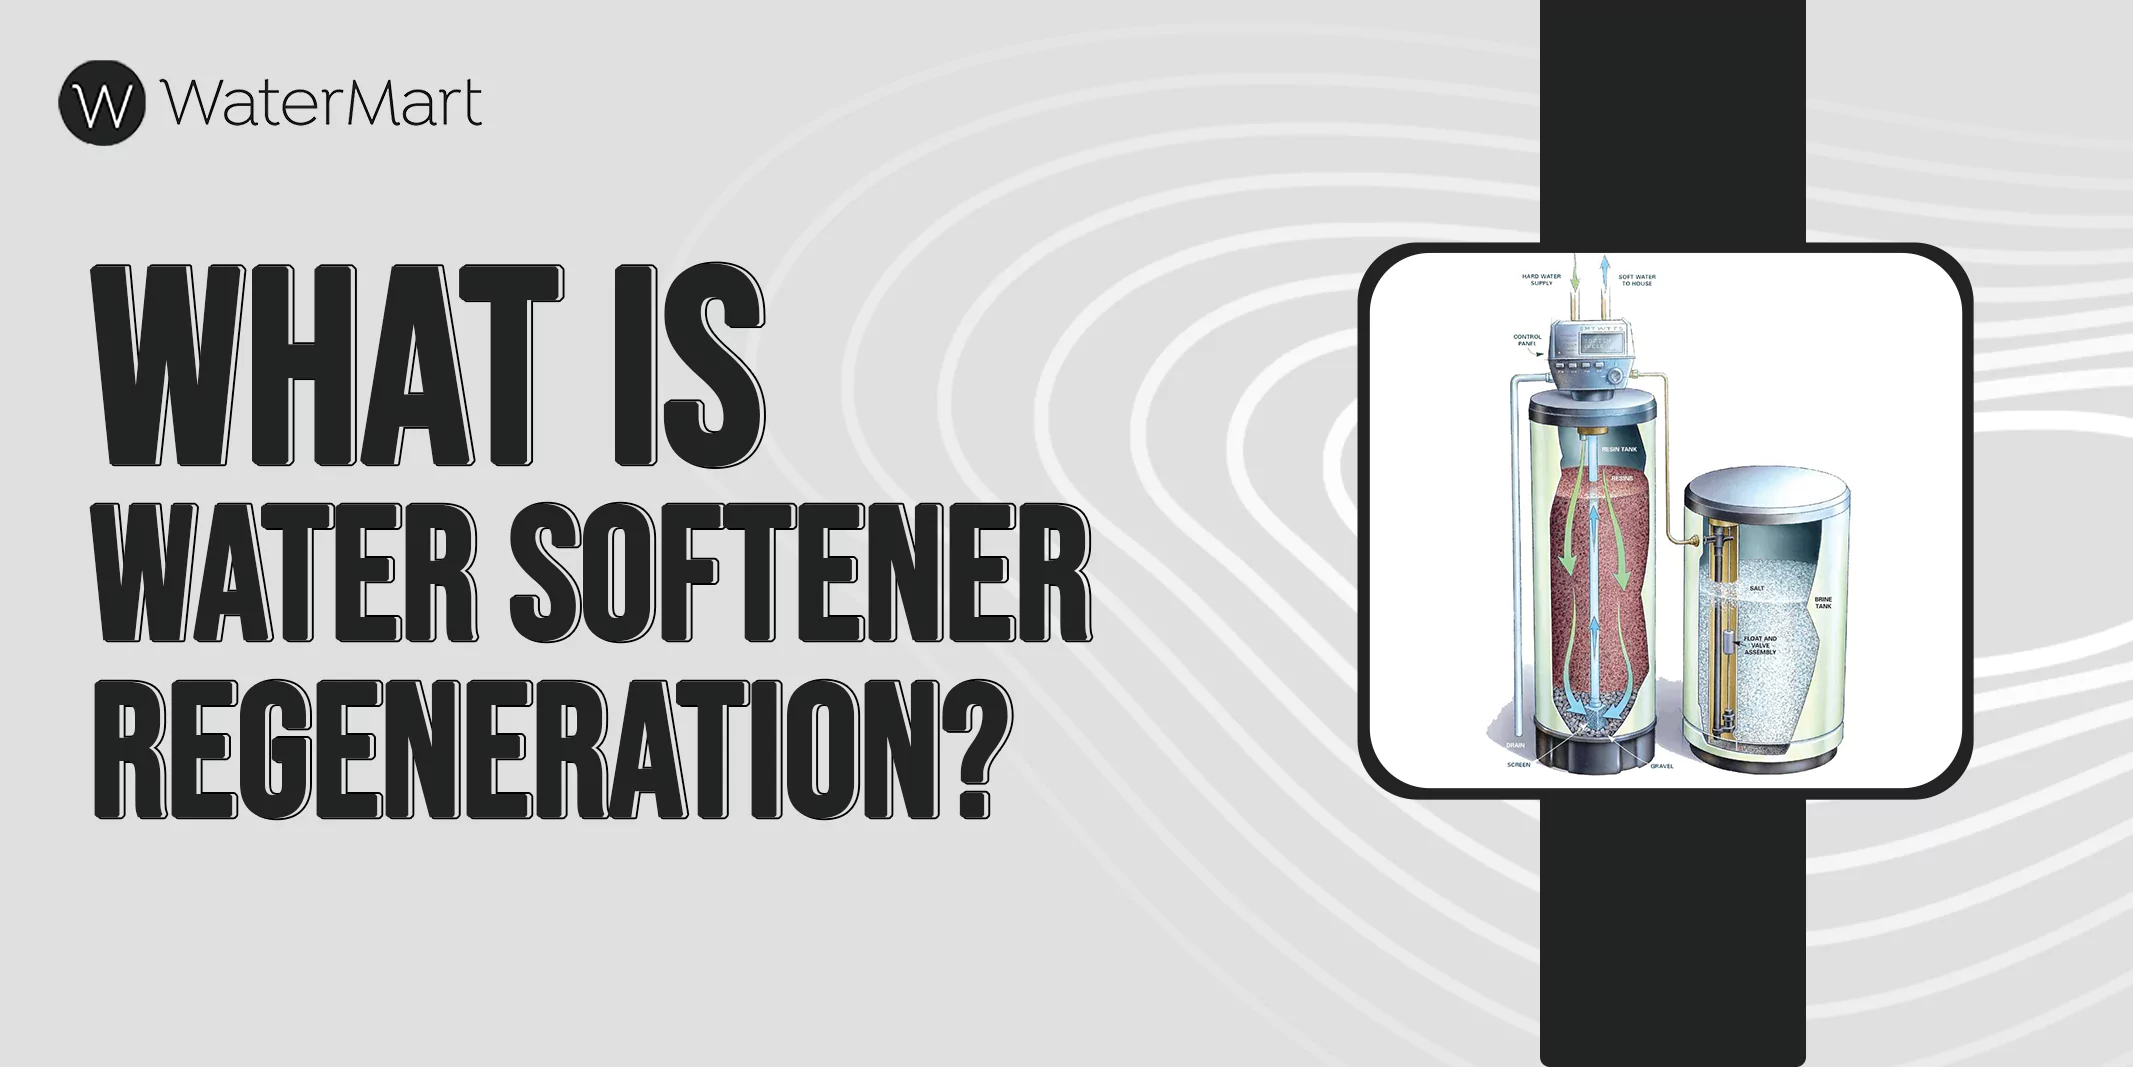
What is Softened Water?
Softened water is the water that you get from a water softener, after getting all the hard particles and their salts removed from it. Softened water does not have the salts of calcium, magnesium, and sulfate that increase the water hardness levels.
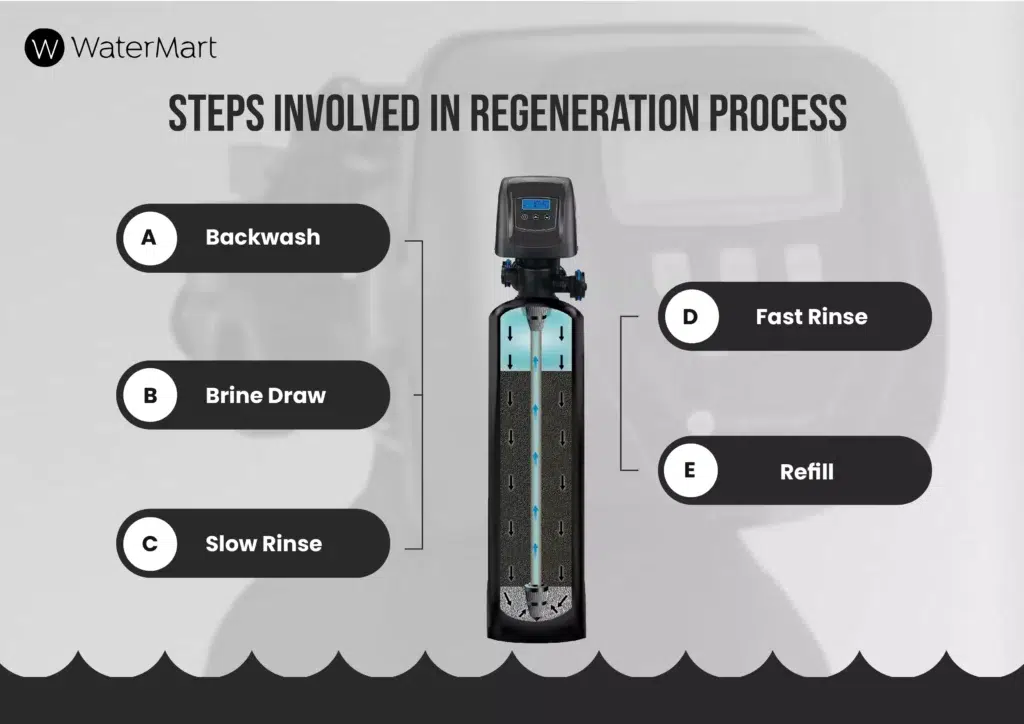
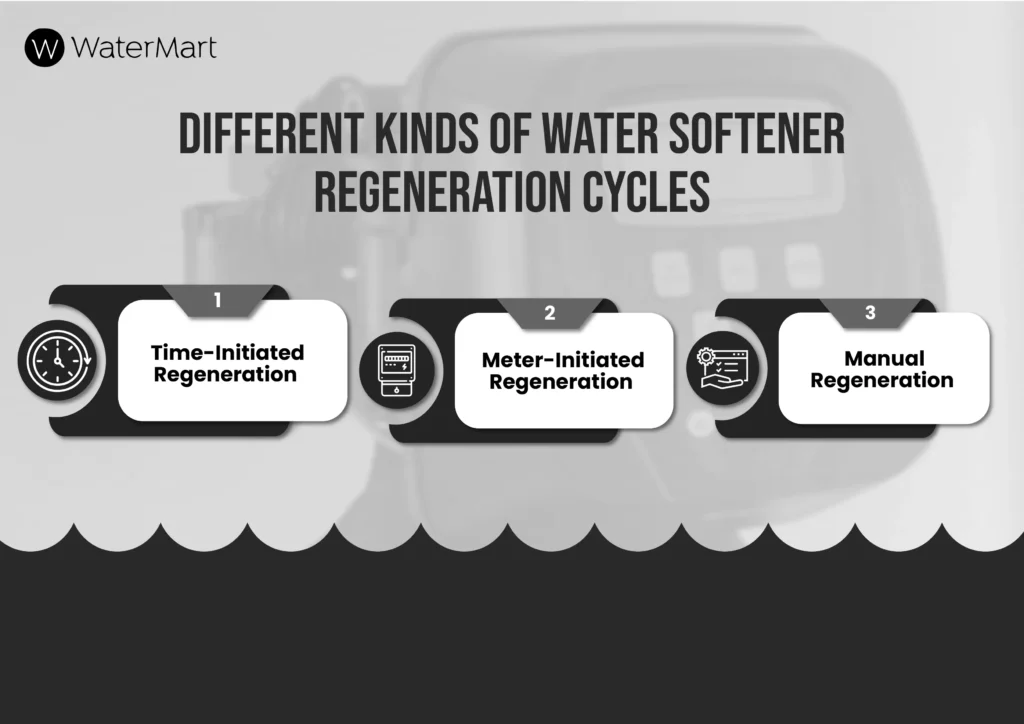
A water softener works on the principle of ion exchange, where hard particles accumulate on resin beads and are then removed by using a brine solution and high-pressure water. This brine removes the hard minerals from the beads and changes the beads with positive sodium ions.
This charging of resin beads is called the regeneration process which helps to soften further hard water.
Does Soft Water Contain Sodium?
Soft water contains little to no amount of sodium in it normally. A 250 ml of soft water may contain less than 12.5 mg sodium which is safe to drink according to the doctors.
Potential Side Effects of Drinking Softened Water
There are no potential side effects of drinking softened water reported so far. However, people with hypertension may have sensitivity toward higher levels of sodium in it. So let’s look at all the potential side effects of drinking soft water and how can you overcome them.
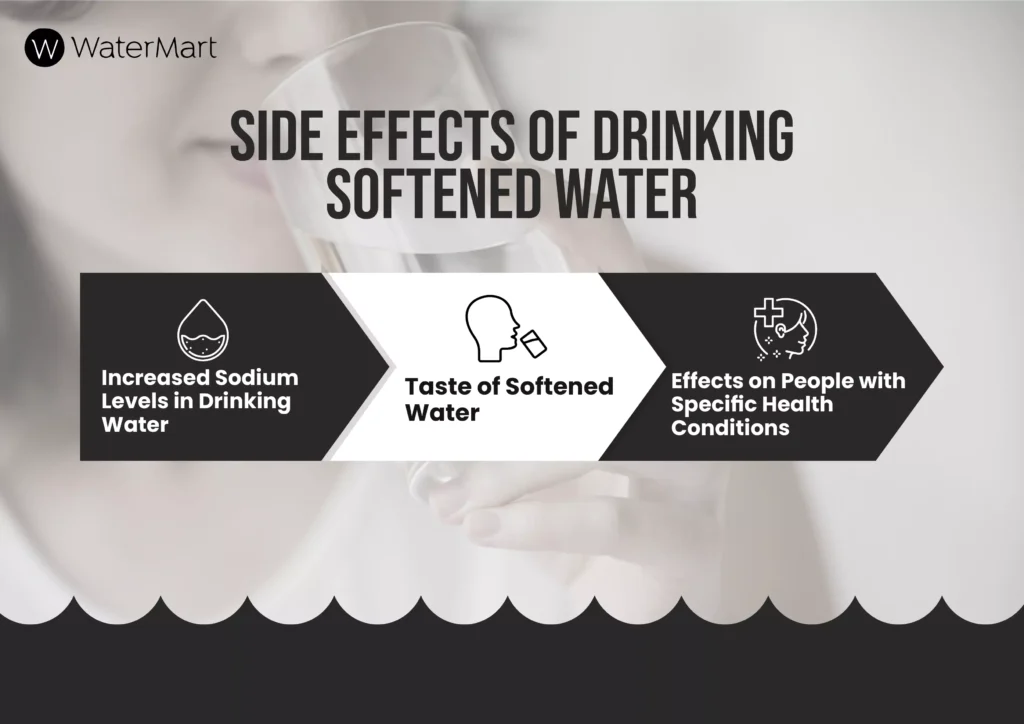
Increased Sodium Levels in Drinking Water
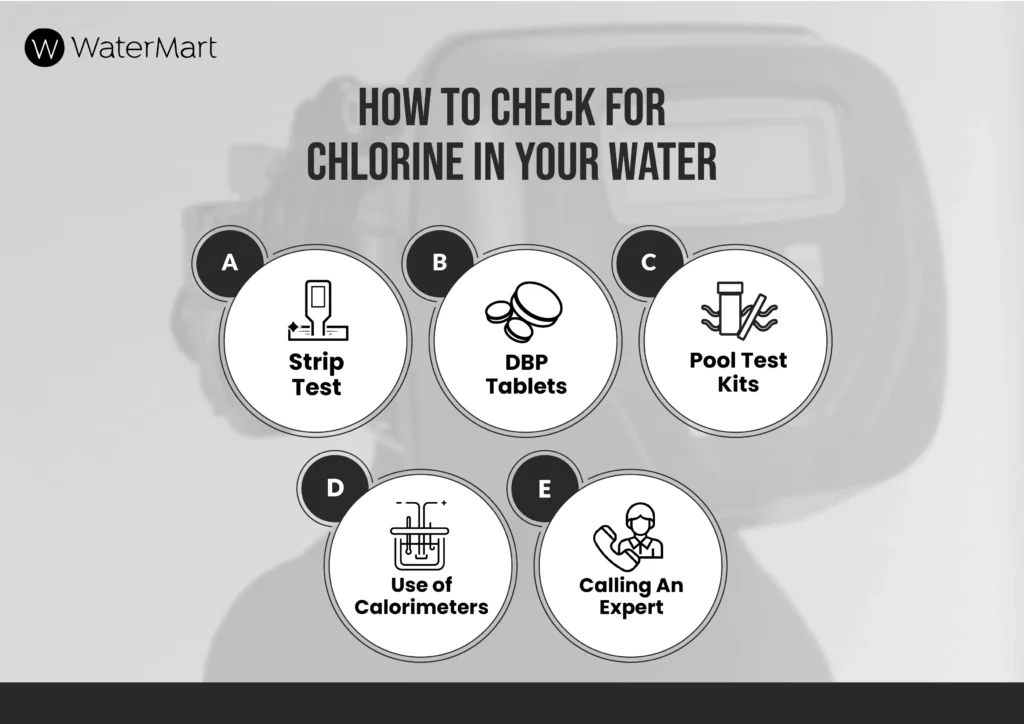
Increased sodium levels in drinking water can have serious health risks, especially for people with high blood pressure or kidney problems. You can check higher sodium levels, through a certified lab, which will measure the sodium concentration in milligrams per liter (mg/L).
If the sodium levels exceed the recommended safe limit( which is 30-60mg/L set by EPA), consider installing a reverse osmosis system or a water softener with a sodium-free resin. Regularly monitor your water quality to ensure the sodium levels stay in check. If unsure, consult a water treatment specialist for tailored advice.
Taste of Softened Water
Softened water has a smooth, silky feel due to the removal of hard minerals like calcium and magnesium. Some people notice a slightly salty taste, especially if the softener uses sodium in the process.
But, the softened water is not salty at all. It is just the feeling, otherwise a slice of ham is saltier than a gallon of soft water. It also depends upon the roots of the drinker. If you are raised in an area of hard water and have been using soft water for a long time, you may not feel any taste different.
Actually, the absence of hardness makes it feel different from regular water, often described as slippery. This change can be more noticeable when drinking or showering, but many find it refreshing and gentler on the skin compared to hard water.
Effects on People with Specific Health Conditions
Softened water can affect individuals with certain health conditions, particularly those on low-sodium diets or with kidney problems. Since water softeners often use sodium to replace hard minerals like calcium and magnesium, the increased sodium levels may pose a risk for people with high blood pressure or heart disease.
For those with kidney issues, the added sodium can strain the kidneys, leading to complications. It’s essential for these individuals to consult a healthcare provider before using softened water or consider alternative methods, like potassium-based softeners, to minimize sodium intake while still enjoying the benefits of soft water.
Some Myths about water softeners
People get so confused while opting for water softeners as a drinking water option. In Canada, most of the states have hardness levels ranging from 16 – 25 grains which is considerably higher. Installing water softeners may solve 90% of water problems but if you are getting the following opinions, take them only as myths.
- Water softeners remove the healthy minerals from the water.
- You can’t make tea or coffee using softened water.
- Sogftneed water tastes salty.
- You get a film on your skin if washed with softened water.
- Municipal water is clean and you don’t need water softeners for it.
- Soft water is bad for your gut health as it removes good bacteria from the water alongside impurities.
- Forget all these things, if these myths are stopping you from getting a water softener. The water softeners are one of the best and economical methods to remove your water hardness, making it usable for your household.
Benefits of Drinking Softened Water
Benefits of drinking softened water include improved health, taste, hydration levels, clean dishes, less use of soaps and detergents, and other skin and hair health improvements. Let’s discuss the major benefits you can have if you start drinking soft water.
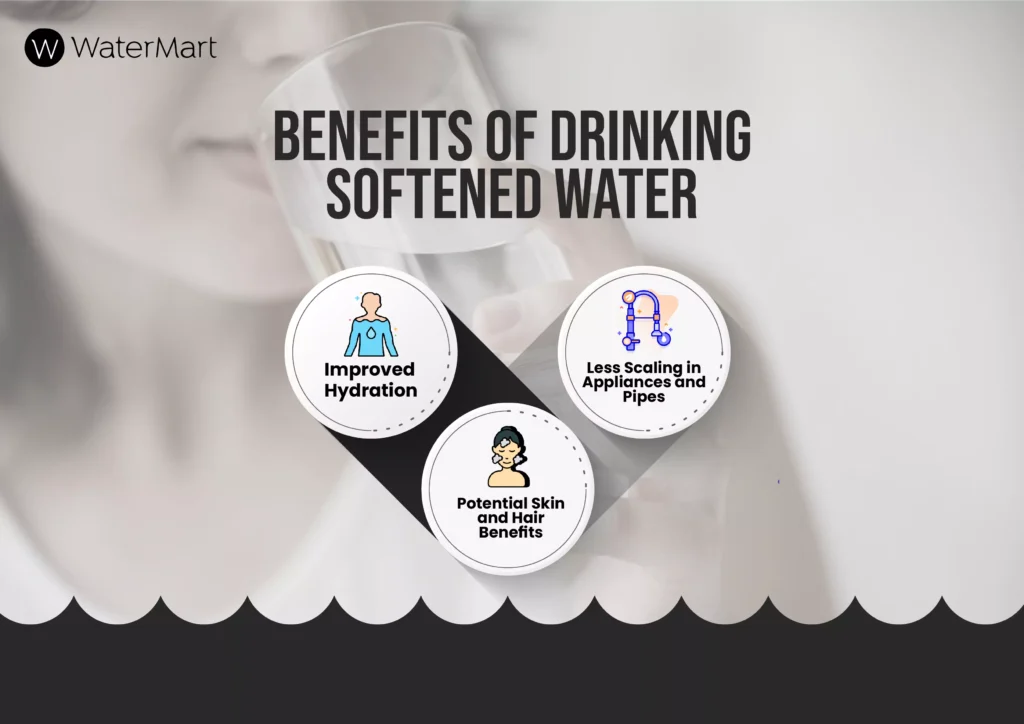
Improved Hydration
Drinking softened water improves your hydration levels by making the water feel smoother and more palatable, encouraging increased water intake.
As minerals like calcium and magnesium are absent in soft water, it allows the water to be absorbed more efficiently by the body. As a result, cells can hydrate more effectively, promoting overall well-being and better bodily function.
Less Scaling in Appliances, and Pipes
Soft water has no lime present in it. As a result, you don’t get any scale build-ups around your faucets, showers, taps, and sanitary fixtures. There is no mineral buildup in the pipes, dishwashers, and electric heaters, which protects your property and prevents damage.
Potential Skin and Hair Benefits
Hard water contains hard minerals like salts of calcium and magnesium, which are dry in nature. Using this water may dry and damage your hair while irritating your skin. Soft water has the opposite effect as it has no hard particles in it, it makes hair shiny, and moist and nourishes the skin leaving it smooth, silky, and scratch-free.
How to make soft water drinkable
Soft water has such added benefits one can’t deny. It is safe for your health and good for your household appliances, and it has an economical budget. Now let’s discuss the people who have sodium intolerance and need sodium-free water. They can install the following additional components to avoid sodium in drinking water.
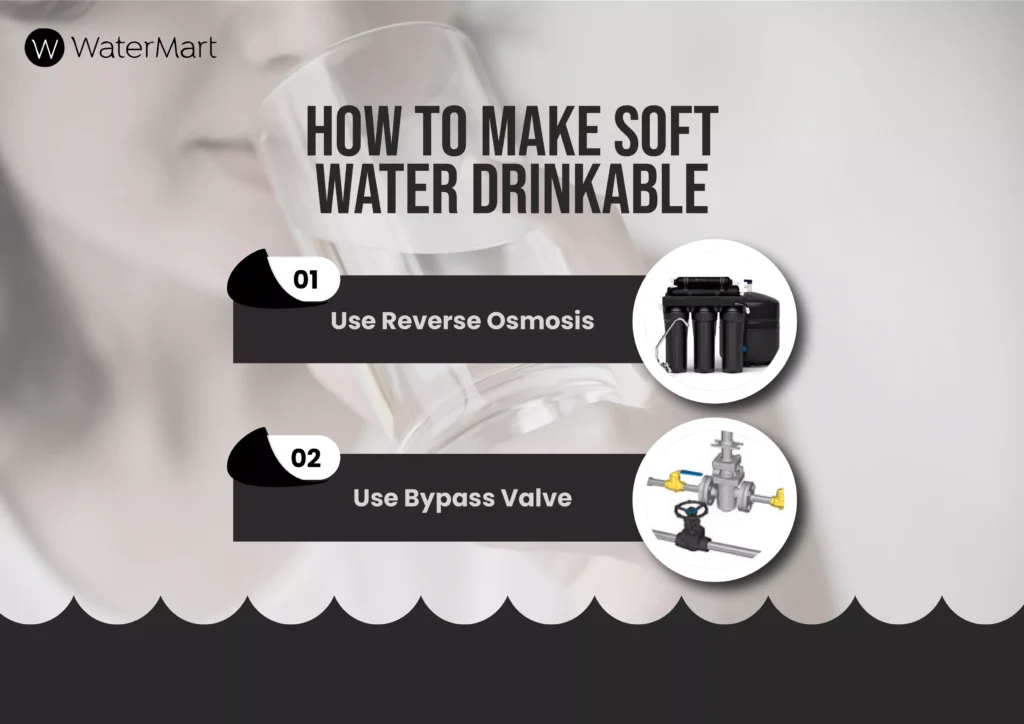
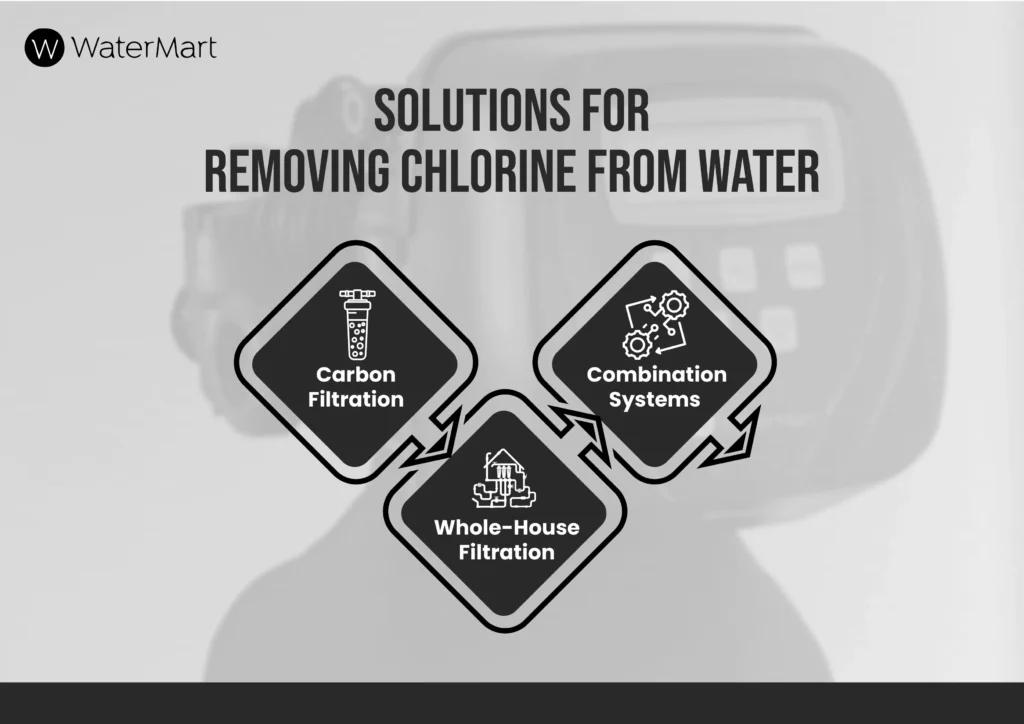
- Use reverse osmosis
RO (reverse osmosis) systems are small portable filter systems that you can install under your sink. RO system uses a carbon pre-filter and a permeable membrane that prevents chlorine, sodium, dust, and many other impurities from going through. You can filter the soft water and enjoy the benefits of both systems in the form of soft, purified, sodium, and chlorine-free water. - Use bypass valve
You can use the bypass valve to divert the water from the softener and get some water untreated. This will be the hard water that does not contain sodium but has hard minerals with it. You can mix this hard water with some quantity of soft water to create a low concentration of hard and sodium water for drinking purposes. This is less recommendable as it still has hard water along with sodium in it.
Conclusion
Water softeners have many benefits that can help you get softened water for better health, improved hair and skin, and protection of your appliances from white scale and mineral build-ups. However, people with low sodium diest or hypertension problems may have high sodium levels in water which is not good for their health. Installing a reverse osmosis filter system can help you get rid of any problems softened water has.
If you are feeling uncomfortable and have no idea how to check the hardness or sodium level of your softened water and how to get an RO system for it, contact us at Watermart where we provide all kinds of water solutions for residential and commercial buildings. Get in touch to discuss your details today.
FAQs
Why is soft water not always suitable for drinking?
If your softened water contains sodium ions or chlorine, drinking it is not recommended especially for patients with sodium intolerance.
Why are some water softeners banned?
High discharge of sodium and potassium to sewer systems contaminates the wastewater ultimately adding up to natural resources of water. Aquatic life is affected by high sodium levels along with environmental destruction in terms of adding hard minerals to water. In places of water scarcity or environmental awareness. Some water softeners are banned.
Is there anything better than a water softener?
Yes, the choice of a filtration system depends upon your needs. If your major concern is sodium, use water conditioners. Whole house water filtration systems and RO systems are other alternatives.
Do you need a water filter if you have a water softener?
If you want to remove chlorine or sodium from soft water, you need another water filter before the point of use.