How to Install a Reverse Osmosis Water Filtration System?
As soon as many of our customers unbox the RO system, they get confused by the number of various colored wires it has. They sometimes also need help choosing the right tools and connecting all the tubes at the right places. Hiring an expert adds to the already high price of an RO system, which costs $400 – $700 on average in Toronto. If you have the same issues, you are at the right place.
Well, installing a reverse osmosis system is not as complex as it seems and does not require deep plumbing knowledge as long as you have all your drain pipes in place. Therefore, to explain the task of RO system installation, here is a detailed guide about the steps of its installation process for you.
We will also discuss the tools required and will answer some of the essential queries about this process. So, let’s begin and get your RO system installed quickly!
What You’ll Need For Reverse Osmosis System Installation?
You can not install reverse osmosis water filters properly until you have all the right tools and pieces of equipment required. That’s why the first thing to do before you begin the RO water system installation is to gather the tools and materials needed for the job.
Equipment/ Tools
To avoid any inconvenience, you should bring your full plumbing tool bag with you because you can need any tool at any time. But there are some main tools that you will need during the installation. Here is the list of those tools so you can purchase them if you do not have them already:
- Adjustable wrenches
- Drill machine
- Plastic tubing
- Nuts
- Ferrule
- Compression fitting
- Screwdriver
Materials
In addition to the tools, there are also some of the other things that are needed to make the right connections. You should have those materials with you so that you do not get stuck mid-way through the process. The materials required in this process are:
- Tubing
- Adapters
- Teflon tape
- Measuring tape
And, of course, a reverse osmosis system is a must!
Step-by-Step Guide On Installing The RO System
If you want to put less burden on your pockets, you can install the reverse osmosis system by yourself. It may seem hard at first, but as soon as you get a grip on the different tools, you can easily complete the steps. Since the first question that comes to one’s mind is where to install a reverse osmosis system, let’s start with answering that first.

Installation Location
The best location to install your RO system is under the sink. However, you should be aware that an RO system is bigger in size so if you do not have adequate space, you can also install it in the basement or crawl space. The temperature of that location should also be moderate.
Prepare the RO System
Now, it’s time to unbox the RO system, but first, you need to turn off the hot and cold water valves. The reverse osmosis system consists of a sediment filter, a charcoal filter, a semipermeable membrane, a tank, and a faucet.
You should measure the tank and the filters to determine the required space. Once that’s done, we need to proceed to the next step.
Install the Sink Spigot
The next step is to install the sink faucet. Install it on your kitchen sink, where you will usually find a hole to fix the spigot. If there isn’t a proper space to mount the sink spigot, you can use your driller to make one hole. Once this is done, pick up the red tube and connect it to the faucet.
Prepare and Position the Tank
After installing the sink spigot, we move on to the next step of installing the main tank. Before positioning the main RO tank, you need to connect its nipple to the sink spigot. You can use Teflon tape to do this (I used the plumber’s tape) and screw it in tightly. Once done, place the main tank in the right place, perhaps just below the sink, where the space is enough.
Mount the Filter Assembly
There are usually 3 filters in an RO system. You can remove them and fix them on the wall next to the main tank. To do this, you need to first measure the filters’ heights to fix the hanger washers. Measure the height accurately using a measuring tape and then attack the hanger washers with nuts. Once done, mount the filter assembly onto the hanger washers.
Attach the Water Line
The RO system has different tubes. The first tube that needs to be connected is the green one. It is usually a quarter-inch long. Although you have already turned off the water supply, I am reminding you again that you need to keep it off when doing this. You have to connect the green tube using an adapter to the filter unit.
Connect the Other Tubing
Different RO systems use different color coding for their tubing. I was also confused the first time I saw so many wirings. You can use the manual to see which tube is for what purpose. One tube comes from the main water supply and goes to the first filter (sediment filter).
Another tube goes out of the last filter (membrane) into the drain. Then, one tube is connected to the storage tank and a further tube links this tank with the spigot fixed on the kitchen’s deck.
Connect the Drain
Now, the final step is to connect the drain pipe. Measure the size of the filter’s drain tee and cut the drain pipe accordingly. Now secure the drain tee in the drain pipe using screws and nuts and link the tube to the drain.
Perform a Pressure Test
Finally, it is time to conduct a pressure test. Open the cold water valve and let it run through the faucet. Due to this, pressure will build up in the system. You can check for any leaking or loose connections. Once you are assured that everything is in place, your reverse osmosis water system is perfectly installed!
Although this may seem an easy way of installing a water system, many people are still confused if they should DIY it or hire an expert.
See also: Reverse Osmosis Maintenance
Do You Need an Expert or Can DIY it?
Installing a reverse osmosis system is not complicated and only requires basic knowledge of plumbing. With the right tools and materials, you can DIY it, which will also save you the expense of hiring a plumber.
However, if your drain and water pipelines are faulty, you might want an expert to fix them. WaterMart accommodates its customers with exceptionally skilled installation experts who do their jobs with utmost care and expertise. Their services are not only reliable but also cost-effective.
Benefits of Installing a Reverse Osmosis System
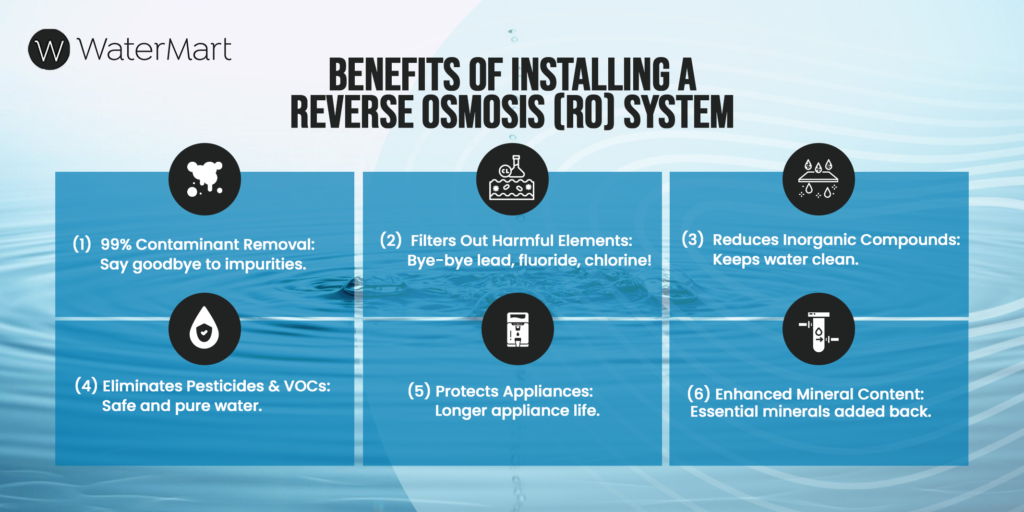
The best result of the RO water system installation is that it removes 99% of contaminants and hard metals from the water. These are some of the chemicals and contaminants it filters out:
- Lead
- Fluoride
- Inorganic compounds
- Chlorine
- Pesticides
- Barium
- Chromium
- Arsenic
- Volatile organic compounds
The RO system generates pure and contaminant free water which is healthier to drink and contains fewer chemicals preventing deterioration of the quality of the appliances. However, during this purification process, essential minerals like calcium and magnesium are also removed, which is why many homeowners look for practical ways to remineralize RO water. At WaterMart, there is even an additional filtration stage in the reverse osmosis setup that elevates the content of minerals in the water.
After Installation of Reverse Osmosis System
After the RO system installation, you need to keep a regular check on its efficiency. It is better to replace membranes and sediment or charcoal filters on time to maintain the quality of the system.
However, even after the replacements, if you observe that the quantity of supplied water has decreased or if the water does not taste the same, you need to check the pressure of the system. You can use any low-pressure tire gauge to test if the pressure of the system is between the manufacturer’s standard pressure range.
RO Water System Installation Made Easy!
You do not need to worry about spending extra on hiring a plumber to install the reverse osmosis system for you. After reading this article, you might get all the information you need about installing an RO system with basic plumbing tools and equipment.
You can also learn about how the system works to understand its installation process better. Correct alignment of the parts of reverse osmosis system ensures proper pressure flow and filtration sequencing during installation. Unlike other filter systems, reverse osmosis uses a semi-permeable membrane, where water is pushed through pressure to generate permeate (pure water). It is also comparatively easier to be installed if you follow the steps carefully. Even after following the steps, if the process of installation goes over your head, don’t worry we have you in safe hands.
At WaterMart, one of the trusted water treatment companies in Ontario, we’re here to assist you 24/7. They will install the RO system for you and explain its whole working process and tips for maintaining it regularly. If you want consistent inspections of your filter system, you can sign up for a service contract as well. So, book an appointment now, and let us do the magic!
FAQs
Is Reverse Osmosis Water Healthy For The Human Body?
Yes, it removes 99% of contaminants from the water. Plus, there is no scientific evidence proving that it has any negative effects on the human body.
Can I Add a UV To My Reverse Osmosis System?
Yes, you can add a UV if you need extra safety of water, but it requires electricity so make sure you have enough power supply near the RO system.
Don’t Reverse Osmosis Systems Waste A Lot Of Water?
It doesn’t waste a lot of water, but the brine (impure water) separated from the pure water (permeate) is drained away as wastewater. Some RO systems also use excessive water in the process.
Can I Connect My Reverse Osmosis System To My Ice Maker Or Refrigerator?
Yes, you can connect them using a permeate pump to avoid wasting pressure.
Do Reverse Osmosis Systems Require Electricity?
No, they operate on the phenomenon of water pressure.