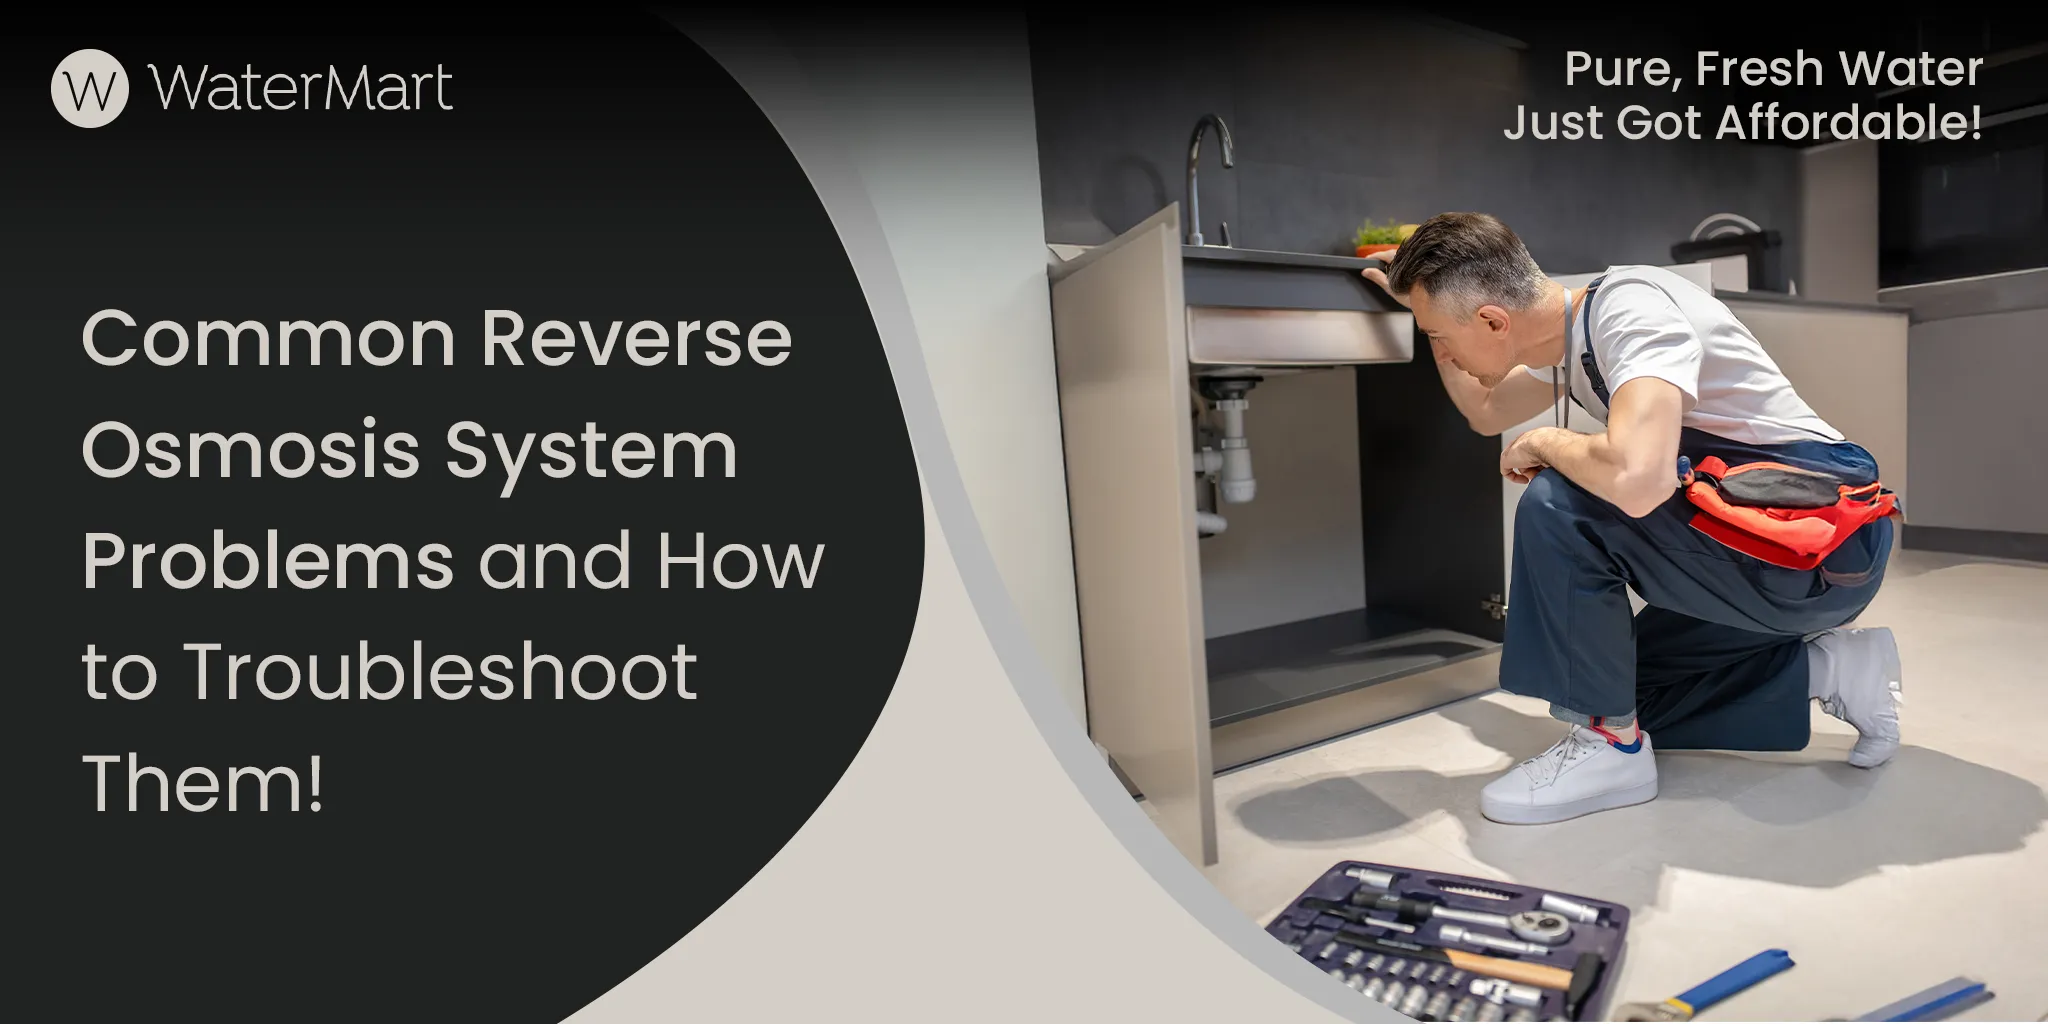
Common Reverse Osmosis System Problems and How to Troubleshoot Them!
One of the most reported issues we hear from homeowners is water from the RO system tasting off. This is often caused by chlorine breakthrough, fouled membranes, or pressure imbalance. But there are many other issues, like pressure being too low or an insufficient water supply.
While RO units are low-maintenance by design, knowing how to troubleshoot them properly saves your time, money, and frustration. We’ve written this guide, breaking down the most common problems and how to fix them step-by-step.
However, if your reverse osmosis system is not working, has a leak, or has zero water flow, act quickly! Call WaterMart and let our professionals handle reverse osmosis repairs.
Reverse Osmosis Problems and Solutions
Reverse osmosis systems are designed to run quietly in the background, until they don’t. If your RO system slows down, stops producing, or starts acting up, identifying the root issue early can save time, water, and replacement costs. Start with the basics.
Reverse Osmosis Low Water Pressure
Low pressure means the system can’t push water through the membrane properly, or the repressurization process isn’t working. It’s better to understand the working of a reverse osmosis system, as this will help you diagnose and resolve issues more quickly.
Here are the signs and what to do:
Signs of Occurrence:
- The water flow from the RO faucet is weak, barely a trickle.
- It takes too long to fill a jug or container in the kitchen, or the output slows down during use. The system struggles to produce even a gallon of water in a reasonable time.
- The reverse osmosis tank pressure is low, it should be 7 to 8 psi when empty.
Possible Solutions:
- See if the inlet valve is fully open.
- Inspect the pressure switch and the flow restrictor (both of these are critical for proper membrane performance).
- Replace clogged filters and check your home’s incoming water pressure (should be at least 40-60 psi).
How to Fix It:
Instead of installing a booster pump quickly, try these steps:
- Test Output First: Use a timer and a large jug to measure gallons-per-minute. Most RO units should deliver around 0.5 to 1 gallon per minute.
- Check and Repressurize the Tank: Shut off the water supply and faucet. Locate the Schrader valve (usually at the bottom of the RO tank). Use a tire gauge to see if the pressure is below 7 PSI when the tank is empty. If not, then use a bike pump to raise it to 7 PSI. Proper tank pressurization is often the key to restoring water flow, and understanding the full process of increasing pressure in your RO system can prevent slow filling and weak faucet output.
- Inspect the Flow Restrictor: Find the restrictor near the drain line. If it’s clogged or mismatched to the membrane size, the flow will be affected. Replace with a properly rated one based on your membrane’s gallons-per-day (GPD) output. This requires a professional.
- Examine the Pressure Switch: It’s usually located near the tank and triggers shutoff at a certain pressure level. If it’s stuck or faulty, it won’t let the tank fill correctly. Replace it by calling a professional for an inspection.
- Check the tank diaphragm: Open the tank valve into a bucket. If water barely drips out and pressure reads 20–25 psi, your tank might be blown. Call a professional for tank replacement.
Why Is My RO Water Cloudy?
Cloudy RO water is usually harmless and happens due to trapped air bubbles. This often occurs:
- After filter or membrane replacement
- When the RO system is new
- Due to pressure changes in the system
If the cloudiness disappears after a few seconds, it’s just air, not contamination.
How to Fix It:
- Let the water sit in a glass for 30–60 seconds; if it clears, no action is needed
- Run the RO system for a few minutes to flush out trapped air
- If cloudiness does not clear, check and replace old filters
- Get the system inspected if the issue continues
Why Is My RO Faucet Leaking?
An RO faucet usually leaks due to:
- Loose fittings or connections
- Worn-out O-rings or seals
- Cracks in the faucet body
- Improper installation
Even a small leak can waste a lot of water if ignored.
How to Fix It:
- Tighten all faucet and tubing connections
- Check O-rings and seals; replace if damaged
- Ensure the faucet is properly mounted
- If the faucet is cracked or very old, replace it
Foul Taste or Odor
Weird-tasting RO water usually means the carbon filters are old, bacteria have built up, or the membrane is failing to block dissolved solids (TDS).
In well systems, we’ve seen odours like rotten eggs (hydrogen sulfide) or methane get worse, especially when the RO unit doesn’t have the right pre-treatment in place. Here’s what works:
Signs of Occurrence:
- Water from the RO faucet smells off or has a strange aftertaste.
- Metallic, musty, or stale taste from the water, even after filtration.
Possible Solutions:
- Replace your carbon filters if they’re over 6 months old (or sooner if your kitchen RO gets heavy use).
- If filters are new, check the RO membrane. If it’s rejecting less than 80% of TDS, replace it.
- Full sanitization of the system is necessary every time you replace filters or if the system has been unused for more than 5 days.
How to Fix It:
- Replace the Carbon Filter: Shut off the system. Open the filter housing with a wrench and remove the old filter carefully. Insert the new filter and make sure that the O-rings are clean and properly seated. Hand-tighten without over-tightening for proper placement, or call a professional.
- Check for Bacterial Growth: If water smells earthy or moldy, it might be bacteria hidden inside the lines or tank. Shine a flashlight into the empty housing after removing the filter, and check if there’s any film or slime. Get it cleaned if there is.
- System Sanitization Steps: Shut off the water supply and tank valve. Remove all filters and the membrane. Add 2–3 tablespoons of unscented bleach (or RO-safe sanitizing agent) into the first filter housing. Reconnect everything (without filters), open the inlet, and let the system fill for 30 minutes. Flush the system completely at least twice before reinstalling filters. Do not skip this step after a long vacation or filter change.
- Still Tastes Bad? Test TDS levels with a meter. If rejection is under 80%, the membrane needs replacement. Can’t do all this? Call WaterMart and we’ll test your RO system, replace faulty filters, and do full system sanitization if needed.
Reverse Osmosis Keeps Draining
Continuous draining not only wastes water but can also increase utility bills. This usually means the automatic shut-off valve (ASO) isn’t working. Follow this for prompt diagnosis and repair.
Signs of Occurrence:
- You hear dripping even when the tank is full.
- There’s wastewater pooling under the sink or near the system.
Possible Solutions:
- Check for leaks at every connection. Push tubing deeper into fittings and look for worn or misaligned O-rings.
- Replace any faulty gasket in the filter housing. Do not ignore even a minor seal issue, as that is enough to throw off the system.
- Use plumber’s tape to reseal any connection showing signs of seepage.
- Check the airgap faucet, and if it’s gurgling constantly, it’s a sign that water isn’t reaching the shut-off pressure.
How to Fix It:
- Shut Off the Water and Tank Valve: Start by turning off the feed water and storage tank valves. This stops pressure and lets you inspect components accurately.
- Check for Leaks and Loose Fittings: Run your hand along each tube and fitting. If a connection feels wet or loose, remove the tubing, cut a clean edge, and push it back in fully, at least 3/4 inch deep. Use plumber’s tape for added sealing if needed.
- Inspect the ASO Valve and Check Valve: Open the tank valve, then shut off the incoming water.
- If water keeps draining, your check valve is faulty, it’s bleeding pressure when it shouldn’t. Replace it.
- If the ASO valve isn’t stopping flow once the tank is full, that valve’s stuck open and needs to be swapped.
- Pressure-Test the Storage Tank: If the tank isn’t filling enough, check the air pressure. See the above steps given for repressurization.
- Still draining nonstop? Contact WaterMart for a full pressure test, leak check, or new airgap faucet installation if needed. Ignoring it means skyrocketing water bills and zero clean water.
Why Is There No Water Coming Out Of My Reverse Osmosis System?
This almost always points to a pressure issue, a clogged component, or a shut valve, which results in not filling reverse osmosis tank properly, leading to no or little water at the faucet.
Signs of Occurrence:
- No water after a filter change.
- Water flow is sluggish and takes forever to fill a glass.
- The ro system sounds like running water, but the faucet stays dry.
Possible Solutions:
- Replace any clogged filters or membranes (every 6-12 months).
- Check tank pressure. A flat tank won’t push water out, even if the filters are working.
- Inspect for a blocked check valve, folded tubing, or a closed tank ball valve.
How to Fix It:
Call WaterMart to run a full system test, and we’ll do all the needed maintenance. Or do this by yourself:
- Confirm Water Supply and Valve Positions: Make sure the cold water feed valve, system ball valve, and tank valve are all fully open. If any of these are off, you’ll get no output.
- Check Tank Pressure (Critical): See the above steps to check the tank pressure with a tire gauge and add air with a bike pump if it’s low.
- Test the Membrane Flow: Close the tank valve and open the faucet. If there’s nothing, the RO membrane might be clogged. Replace it if it’s older than 2 years or if your TDS readings are high.
- Inspect Pre-Filters and Post-Filters: If you just changed filters, one might be installed backward or still clogged. Remove and reinstall in the right flow direction. Call professionals to install to avoid issues.
- Look for Crimped or Blocked Lines: Follow the tubing from each stage. A sharp bend or a crushed tube will block the flow. Also, check the product line of the faucet for any obstructions.
- Check the Check Valve and Flow Restrictor: If the check valve is jammed or the restrictor is blocked, water won’t pass through the system. Replace both if you suspect the flow is restricted despite working pressure and clean filters.
Water Not Filtering Properly
Canadian water sources can vary in contaminant levels, but RO systems can remove 95%-99% of contaminants. Whether you need a reverse osmosis system or a water softener depends on the quality of your water source. RO handles chemical and dissolved solids, while softeners tackle hardness caused by minerals. If it’s not doing the job, there’s something wrong
Signs of Occurrence:
- The output water looks cloudy or has particles.
- Your TDS meter shows higher readings than normal, meaning contaminants are slipping through.
Possible Solutions:
- Replace the RO membrane if it’s damaged or overdue.
- Check the sediment and carbon pre-filters. They might be clogged, so the system can’t protect the membrane.
How to Fix It:
- Open the Filter Housings: Shut off the feed valve and tank valve. Unscrew each housing with a filter wrench.
- Inspect Filter Placement: Make sure filters are installed in the correct order, “sediment > carbon > RO membrane > post-filter”. Reverse order or upside-down filters will kill performance
- Replace Faulty Parts: If the membrane is two years old or your TDS meter shows poor rejection, replace it. High chlorine levels destroy membrane layers fast, so don’t delay this.
- Reassemble and Flush: After reinstallation, turn the water back on and flush the system for at least 2 full tanks before drinking.
Reverse Osmosis System Making Noise
Some noise is normal during the initial installation of RO system or right after filter replacement. But persistent or unusual noise means underlying issues that need to be fixed.
Signs of Occurrence:
- The system makes gurgling, humming, or vibrating sounds.
- Noises start after a new install, filter change, or when the tank refills.
Possible Solutions:
- Gurgling is normal at first as it’s air escaping. But if it’s loud or constant, air is likely trapped, or the tubing is out of place.
- Misaligned filters or a blocked drain line can also be the cause.
How to Fix It:
- Let the faucet run for 24–48 hours to flush out air.
- Secure all tubing and keep it from touching hard surfaces.
- Fully open the tank valve.
- Reseat filters and check for clogs.
- Confirm the drain saddle is mounted properly and the flow restrictor is intact. Make sure that the hole in the pipe aligns perfectly with the valve hole, or drainage can be blocked.
Pro Tips for Preventing Common Issues
Regular reverse osmosis maintenance can help reduce the chances of even the most common issues. Follow these expert tips to keep your RO system performing optimally:
- Use high-quality pre-filters to stop sediment and chlorine early.
- Maintain proper water pressure to avoid membrane stress.
- Test water regularly for hardness and total dissolved solids (TDS).
- Replace carbon filters on schedule to reduce impurities.
- Clean and sanitize the storage tank every 6 months.
- Inspect the membrane for fouling or scaling and flush as needed.
- Watch for changes in taste, smell, or flow rate.
When to Call in a Specialist from WaterMart?
If you’ve flushed the tank, replaced filters, checked pressure, and the issue persists, it’s time to call WaterMart. DIY can only go so far, especially when it comes to membrane failure, faulty valves, or internal leaks. Our technicians handle everything from filter swaps to full system diagnostics.
We also offer free water testing to check for cleanliness, impurities, and system wear. If you’re in Ontario (or any Canadian city!) and need help with a reverse osmosis unit, give us a call. Residential or commercial, we’ve got the experience to get your water clean with RO systems.
Conclusion
Understanding the most common reverse osmosis problems, from low pressure to strange noises, can help you keep your household water treatment system running perfectly. Most issues can be resolved by checking filters, pressure, and connections.
However, if things go beyond DIY fixes, WaterMart water treatment company is here to help, with expert service, quality parts, and free water testing for Canadian homes and businesses.
FAQs About Reverse Osmosis System Troubleshooting
You should call Experts when the problem goes beyond basic maintenance. If you notice continuous leaks, very low water pressure, rising TDS levels even after filter changes, unusual noises, or frequent system shutdowns, it’s best to get expert help. These issues often indicate membrane failure, internal valve problems, or pressure imbalance, which require proper tools and experience. Trying to fix complex RO issues yourself can cause further damage or void the warranty.
To prevent RO system malfunctions, follow a regular replacement schedule:
Sediment & carbon filters: Every 6–12 months, depending on water quality and usage
RO membrane: Every 2–5 years
Post-carbon or remineralization filters: About 12 months
Delaying filter or membrane replacement can lead to clogging, pressure drops, poor water quality, and system failure. Regular maintenance keeps your RO system running efficiently and extends its lifespan.
A failing RO membrane usually results in poor taste, increased TDS levels, slow water production, or frequent filter clogging. Using a TDS meter is the most reliable way to confirm membrane performance. If readings are high, membrane replacement is recommended.
Yes. Skipping regular maintenance can cause filter clogging, membrane damage, pressure loss, leaks, and poor water quality. Over time, this can shorten the lifespan of the entire system and increase repair costs.