Water Softener Components Every Homeowner Should Know
Most homeowners install softeners to protect their plumbing and appliances, but they don’t have much idea about water softener components. Many respond to maintenance issues by wasting money on extra salt, unaware that the problem isn’t the ion-exchange chemistry but a mechanical failure of some component.
A water softener is built around several parts, including the control valve, resin tank, resin beads, brine tank, injector, and bypass valve, all tied to the ion-exchange and regeneration process.
Most performance problems or water quality issues trace back to a part of the water softener. Understanding water softener components can help you pinpoint problems and handle repairs before costs stack up.
Main Parts of a Water Softener
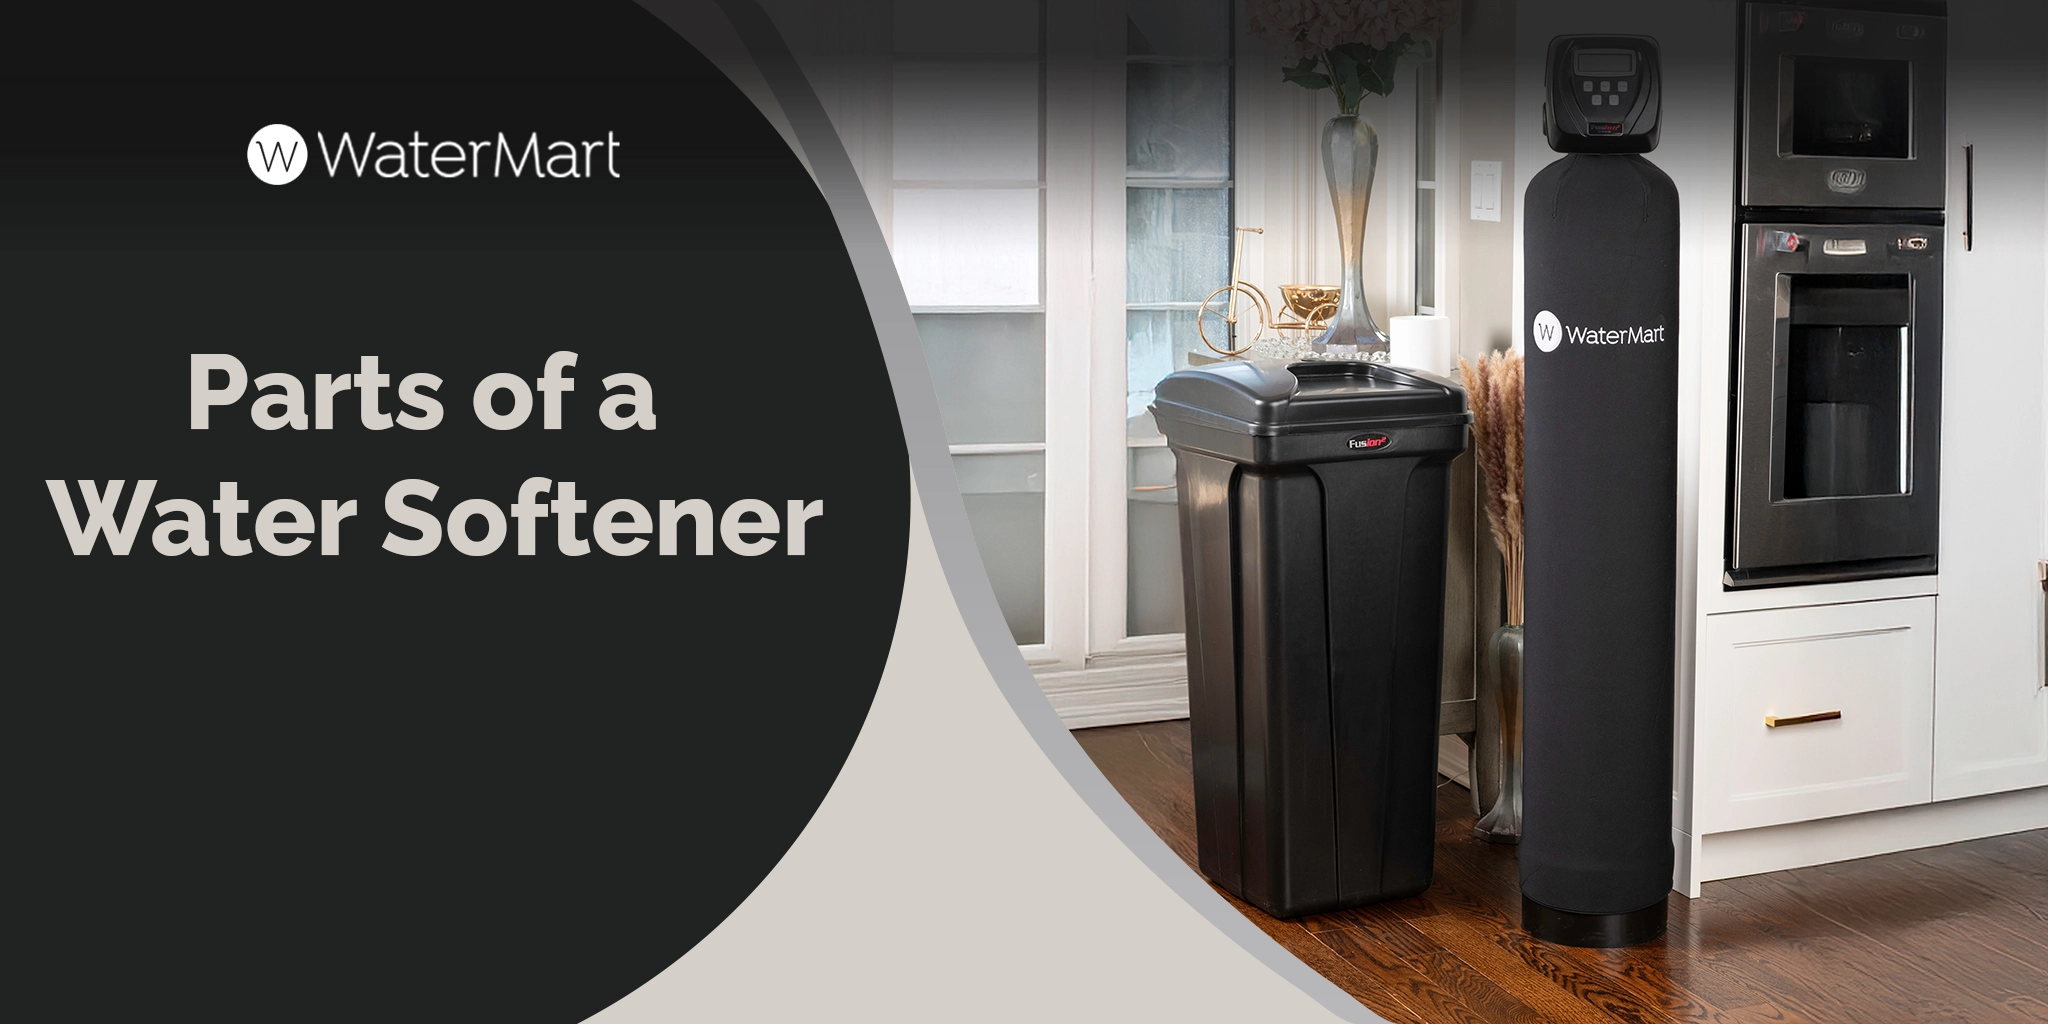
If you look at a water softener, you’ll see one tall tank with a control head and a shorter salt tank beside it. But, there are over 21 working parts handling ion exchange and regeneration. Below is the full list of components of a water softener:
- Control Valve (Head Valve)
- Bypass Valve (Built-in / External)
- Valve Motor
- Water Meter / Flow Meter
- Timers, Circuit Boards & Sensors
- Resin Tank (Mineral Tank)
- Brine Tank
- Brine Well
- Resin Beads (Softening Resin Media)
- Salt (Sodium / Potassium Chloride)
- Brine Solution
- Brine Injector (Nozzle / Venturi)
- Brine Float Assembly
- Safety Float Valve
- Fill Tube
- Brine Line Tubing
- Distributor Tube (Riser Tube)
- Bottom Screens / Strainers
- Grid Plate
- Drain Line
- Pre-Filter
Let’s understand the working of the main components of water softeners.
Control System & Valves
The control system sits on top of the taller tank (the resin tank) and controls all water movement within the softener. These components measure water use, direct flow through each cycle, and trigger regeneration. If your water stays hard, cycles run at odd times, or salt use spikes, check these parts:
Control Valve (Head Valve)
The control valve sits on top of your water softener, and inside this valve, you’ll see channels, pistons, and seals. It’s a “command centre” that routes water through service, backwash, brine draw, and rinse cycles, and it decides when resin bead regeneration starts. If your water doesn’t soften or regeneration feels irregular, the control valve might be the reason. Modern valves include digital displays and metered regeneration that make it easier to monitor and ensure your water stays soft.
Bypass Valve (Built-in / External)
The bypass valve is a “turn off” switch that lets water flow around the softener instead of through it. Meaning you get untreated hard water. Some models have it attached to the head valve, and others have an external unit, but the purpose stays the same. You can use it during maintenance, vacations, troubleshooting, or whenever hard water is needed temporarily.
Valve Motor
The valve motor does the physical work of turning the head valve during regeneration. It moves slowly, deliberately, and on schedule. If your system freezes mid-cycle or stops generating soft water properly, it means the motor starts failing. Never ignore strange clicking noises or stalled cycles.
Water Meter / Flow Meter
Found in the outlet port of the valve, the water meter tracks real-time usage, so the valve only regenerates when the resin is full. Instead of guessing on a set schedule, it reacts to your actual demand. This prevents salt waste and ensures you have soft water consistently.
Timers, Circuit Boards & Sensors
You will find these components in the latest water softener systems. These parts automate and monitor your softener’s operation. They track water use, store hardness settings, and activate the motor and valve. If your system skips cycles or resets settings unexpectedly, these components usually need attention.
Tanks & Main Housing
The tanks provide the structure (housing) for the softening process and store the materials used for regeneration. A typical salt-based system includes a tall mineral tank for softening and a shorter brine tank for salt storage.
Resin Tank (Mineral Tank)
The taller tank is where softening actually happens. Water softener resin tank parts include resin beads, a central distributor tube, and top and bottom screens. It’s built to handle pressure, constant water flow, and years of service. If water stays hard and you notice pressure drops, your tank is likely cracked or failing.
Brine Tank
The shorter tank beside the resin tank is the brine tank. It doesn’t treat your water directly. Instead, it stores salt and water and uses them to create a concentrated brine solution for regenerating resin beads. The common water softener brine tank parts are the brine well, safety float, and grid plate.
Brine Well
A brine well is a vertical tube inside the brine tank that houses the float and brine valve. It protects these parts from salt pellets and controls the water level. If you see standing water or unused salt, the well is likely clogged or dirty.
Resin & Softening Media
Resin and softening media are the parts that remove hardness from water. They are the most common replacement components and carry out the ion-exchange process that makes water soft for your home.
Resin Beads (Softening Resin Media)
Resin beads are polymer spheres that capture hardness minerals and release sodium or potassium. They sit inside the resin tank and regenerate during brine cycles. Over time, they wear down, causing water to feel hard intermittently. Regular cleaning and occasional replacement keep the softening consistent.
Salt (Sodium / Potassium Chloride)
Salt is added to the brine tank. Sodium chloride works for most homes, but if you’re limiting sodium, Potassium chloride is also suitable. Both can create the brine that restores resin. Always use high-quality salts, as low‑grade salt causes problems like salt bridges. In case of any salt bridge formation, fixing it can help improve the salt efficiency. For more details, call WaterMart and get your water softener inspected with salt bridge removal services.
Brine Solution
Brine is the concentrated saltwater made in the brine tank. During regeneration, it flows to the resin tank to “recharge” beads so they can soften your water. If the mixture isn’t concentrated enough, your water stays hard, so keep the salt level balanced.
Brine & Regeneration Components
These parts move brine into the resin tank. If they fail, the beads won’t regenerate, and your water stays hard. You can checkout complete regeneration process and the common troubleshooting tips for more details. For now, let’s understand the components involved in the regeneration process.
Brine Injector (Injector / Nozzle / Venturi)
The brine injector pulls saltwater into the resin tank. It’s located on the control head and includes screens that catch debris. If it clogs, the system won’t regenerate, causing the beads to stay saturated with hard minerals. Regular cleaning can help run the system efficiently.
Brine Float Assembly
The brine float assembly sits inside the brine well. It shuts off water to stop overfilling and includes a water softener air check valve that blocks air during brine draw.
Safety Float Valve
The safety float valve, located inside the brine tank, acts as a backup shut-off. If the main valve fails while you’re away, it stops water from entering the tank and prevents brine overflow.
Fill Tube
After the system regenerates, the fill tube adds fresh water to your brine tank. This dissolves the salt so your household always has properly softened water for the next cycle.
Brine Line Tubing
This tubing connects your brine tank to the control valve. It must stay airtight. Even a small crack lets air in, stops brine draw, and shuts down the softening process entirely.
Internal Distribution Parts
These components spread water evenly through the resin bed so it contacts all resin beads rather than creating channels that reduce softening performance.
Distributor Tube (Riser Tube)
The distributor tube runs through the center of the resin tank and carries softened water out. A basket at the bottom holds resin in place. If you notice pressure loss, uneven softening, or resin beads appearing in fixtures, this tube might be cracked.
Bottom Screens / Strainers
Bottom screens sit at the base of the distributor tube. They allow water flow while trapping resin inside the tank. If one cracks, resin beads often show up in sinks, toilets, or appliance filters.
Grid Plate
The grid plate sits at the bottom of the brine tank and supports the salt above a water layer. This spacing helps prevent salt bridging and allows consistent brine formation.
Water Flow & Drainage
Drainage components carry waste brine and hard minerals out of the system during regeneration. Most issues with these components are due to DIY installation. Proper installation, including an air gap, protects your plumbing and prevents contamination.
Drain Line
The drain line removes wastewater during regeneration. If it clogs, leaks, or kinks, water may run constantly with failing regeneration. Regular checks help prevent water damage and keep your softener operating properly.
Filtration & Protection
A pre-filter removes sediment before water reaches your softener. Sand, rust, and debris shorten valve and resin life. If you have a home with well water or aging plumbing, this part can prevent costly internal damage.
Pre-Filter
A pre-filter installs before your water softener and traps sand, rust, and grit. This protects internal seals and resin from fouling. If your water source carries sediment, this single component can greatly extend the system’s lifespan.
How These Parts of a Water Softener Work Together in a Whole Home System
Hard water enters through the main supply, passes the bypass, and reaches the control valve, which directs it into the resin tank and down the distribution tube. Resin beads charged with sodium or potassium capture calcium, magnesium, iron, and manganese through ion exchange. Softened water then rises through the riser tube, back to the valve, and flows to every tap.
With so many components of a water softener working inside one unit, each step depends on the previous to deliver consistent soft water throughout your home. And even if one tube is misaligned, the hardness won’t be removed. Proper installation and regular maintenance are the solution. At WaterMart, we offer professional installation, high-quality components, and calibrated controls to keep every part in sync for consistent soft water. In case of any troubleshooting, water testing, or requirement of whole-home water softeners, Watermart provides full consultation, free water testing, and installation services. For more details, call us today.
Wrapping Up
If you’re learning about the parts of a water softener to attempt DIY repair or installation, it’s better to pause. Misunderstanding even one part can reduce performance or cause costly issues. Understanding them helps with maintenance, but professional handling guarantees proper flow, ion exchange, and system longevity.
FAQs About Water Softener System Components
The ion-exchange process for softening water only involves a resin tank, resin beads, a control valve, and a brine tank.
All water softeners have ten components. They are a resin tank, beads, a brine tank, a control valve, a distributor tube, a brine and drain line, and a bypass valve.
Water softener components work as one system. The control valve directs water, resin beads exchange hardness, and the brine tank regenerates beads, keeping soft water flowing through service and regeneration cycles.
Regeneration uses the control valve, resin tank, brine tank, injector, and drain line together. The control valve sequences backwash, brine draw, rinses, and refill based on usage.
The control valve primarily directs water flow direction, pressure, and operating cycles inside. Pistons, riser tube, injector, and bypass also assist routing during service and regeneration cycles.